Categories
bread Indian

Jowar Bhakri- Sorghum flat bread

Jowar Bhakri (ज्वारीची भाकरी)

IMG_2251 1

Whenever I talk to any non-indians about Indian breads, most of them only know naan. Although I like Naan, there are so many different breads that are part of the Indian cuisine  that the rest of the world  is unaware of. I hope to do a series of posts on various Indian Breads.

My most favorite Indian bread is actually a flat bread.

What is Jowar(Sorghum)?

Jowar is a grain cultivated through out India. It is considered a cheap alternative to wheat. It is a very healthy grain with a lot of fibre and rich nutrients that are supposedly beneficial to fight against diseases like cancer, diabetes. The list of health benefits is pretty long.


IMG_1988
Jowar fields

Jowar bhakri is very common in many parts of Maharashtra and Karnataka, especially  it is an integral part of the Farmers’ diet.In the villages Bhakri is made typically on a wooden stove. The smoky flavor you get with that is unmatchable.

IMG_3859

I love to eat bhakri right off the stove, with a pinch of salt, onion and green chili, I feel that it is the best food on the planet. In fact, if I am asked on my death bed what I would like to eat, it would be bhakri.

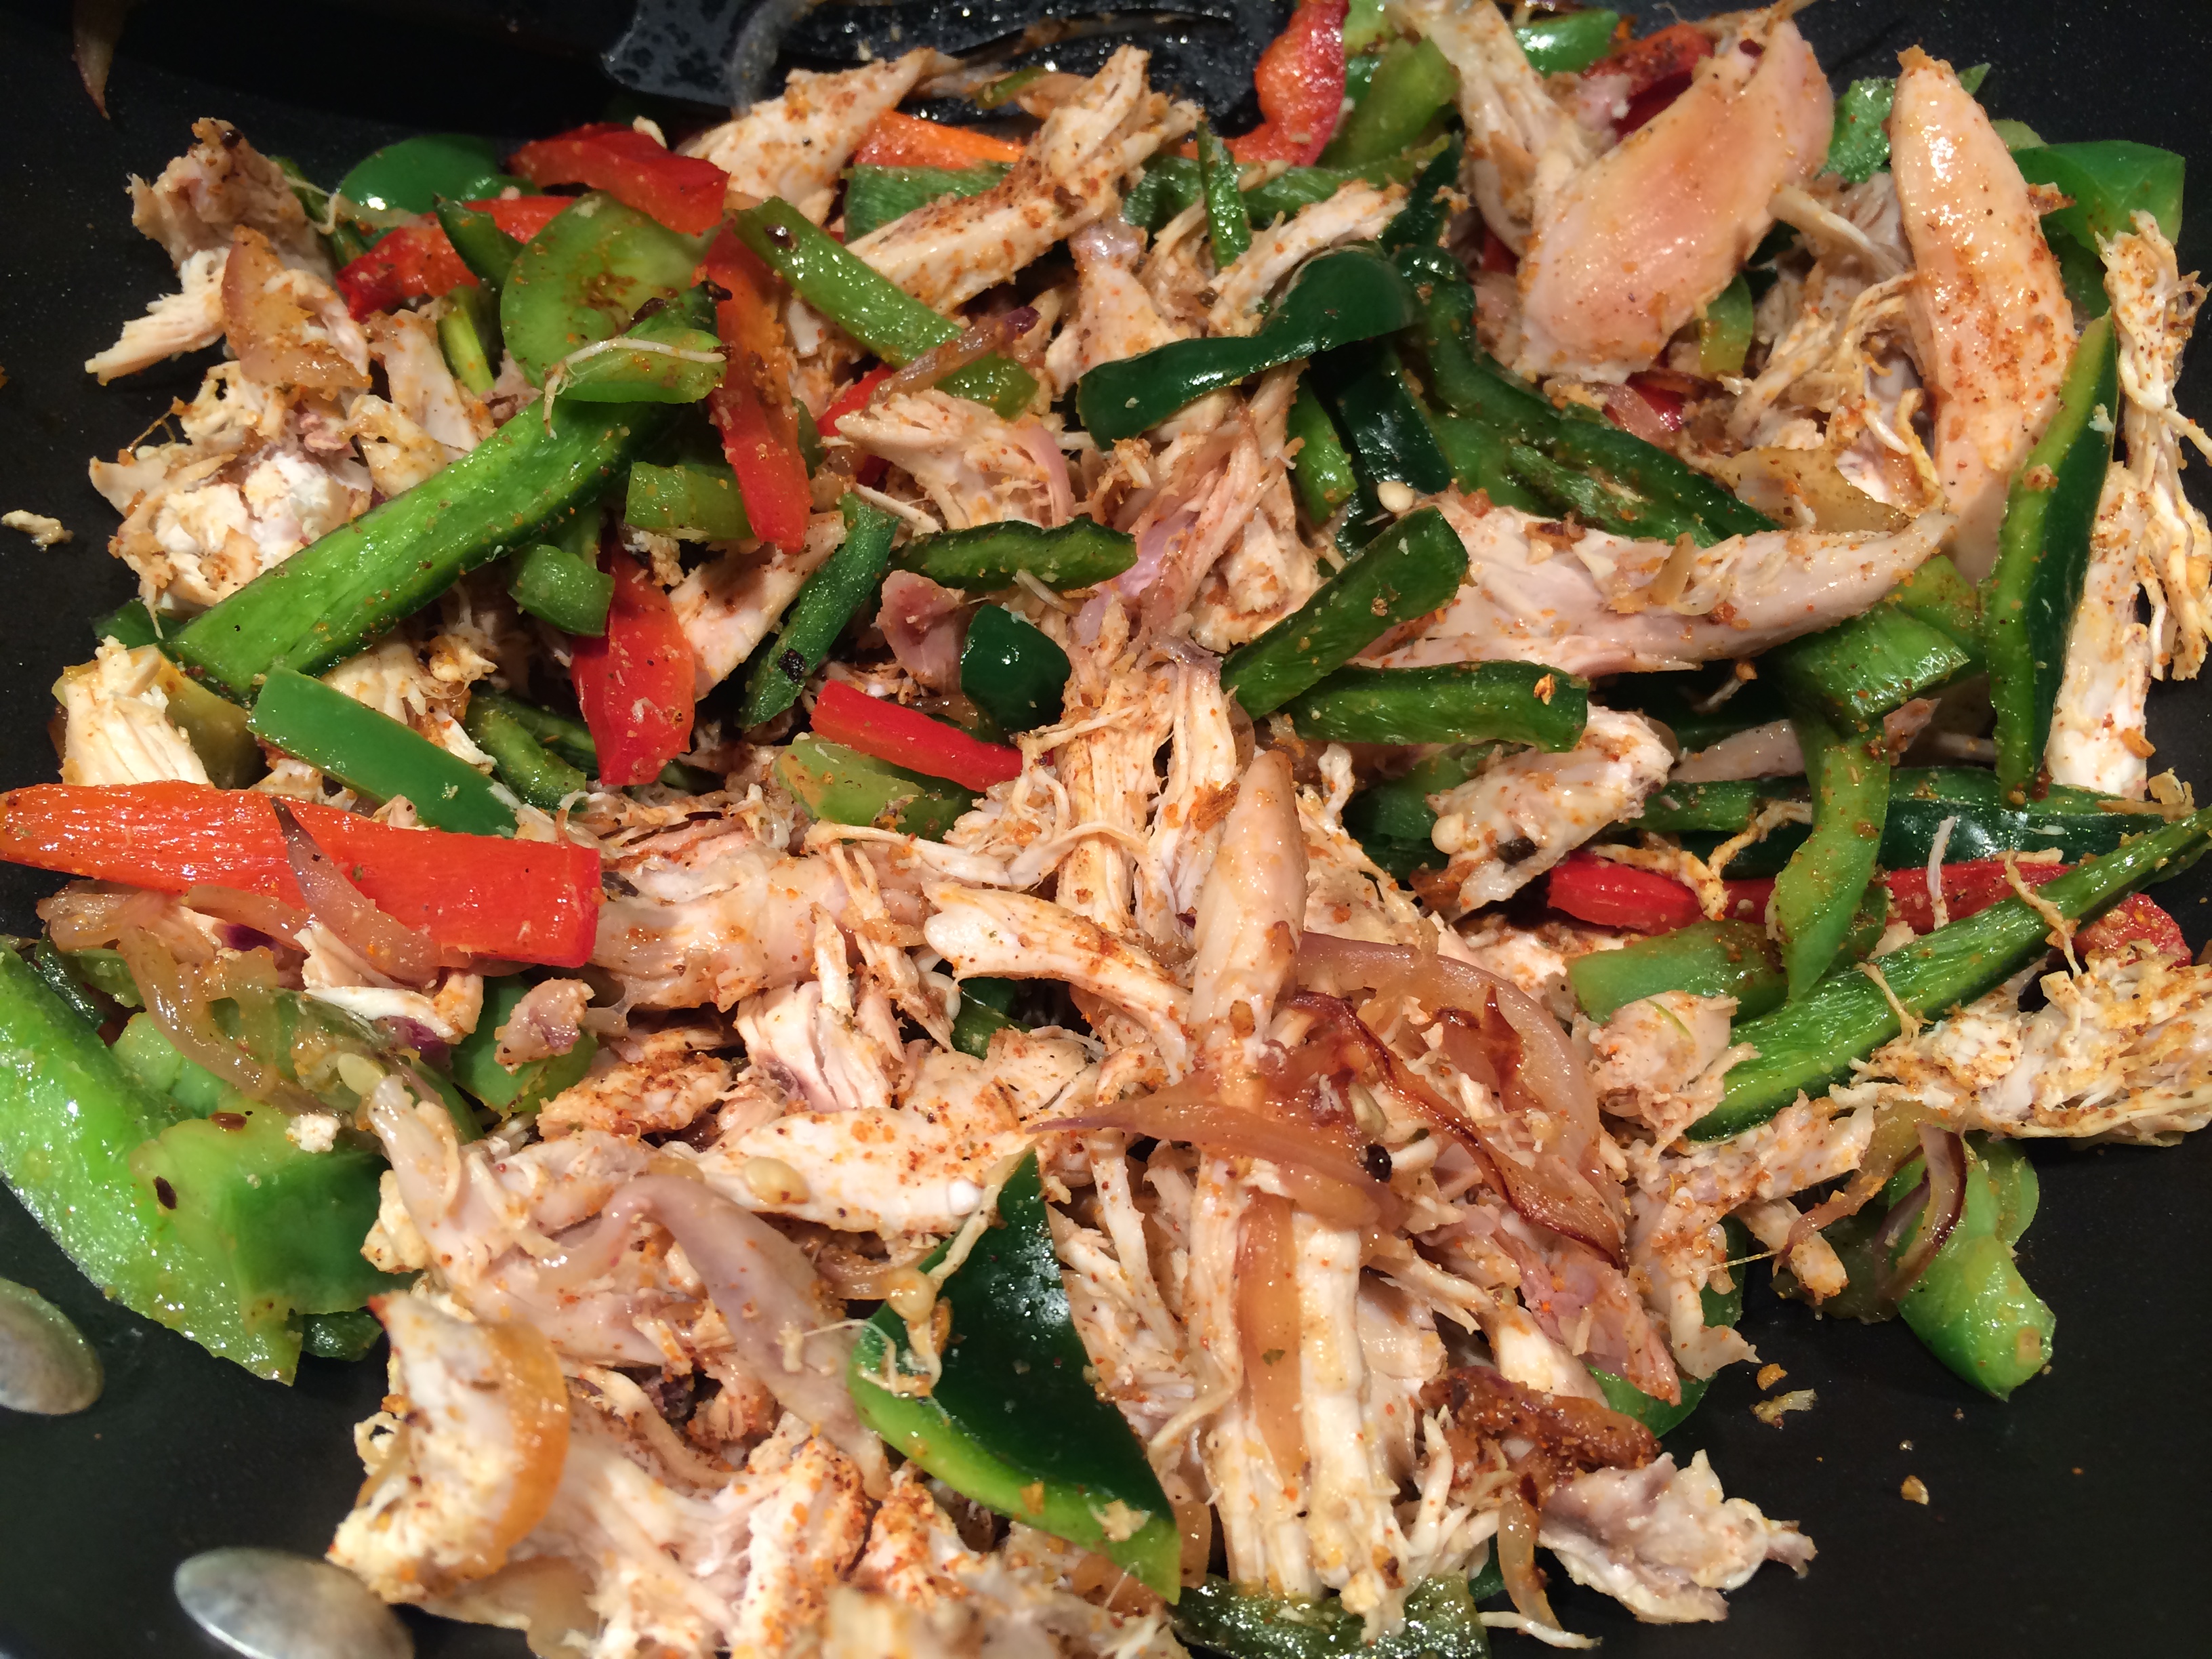
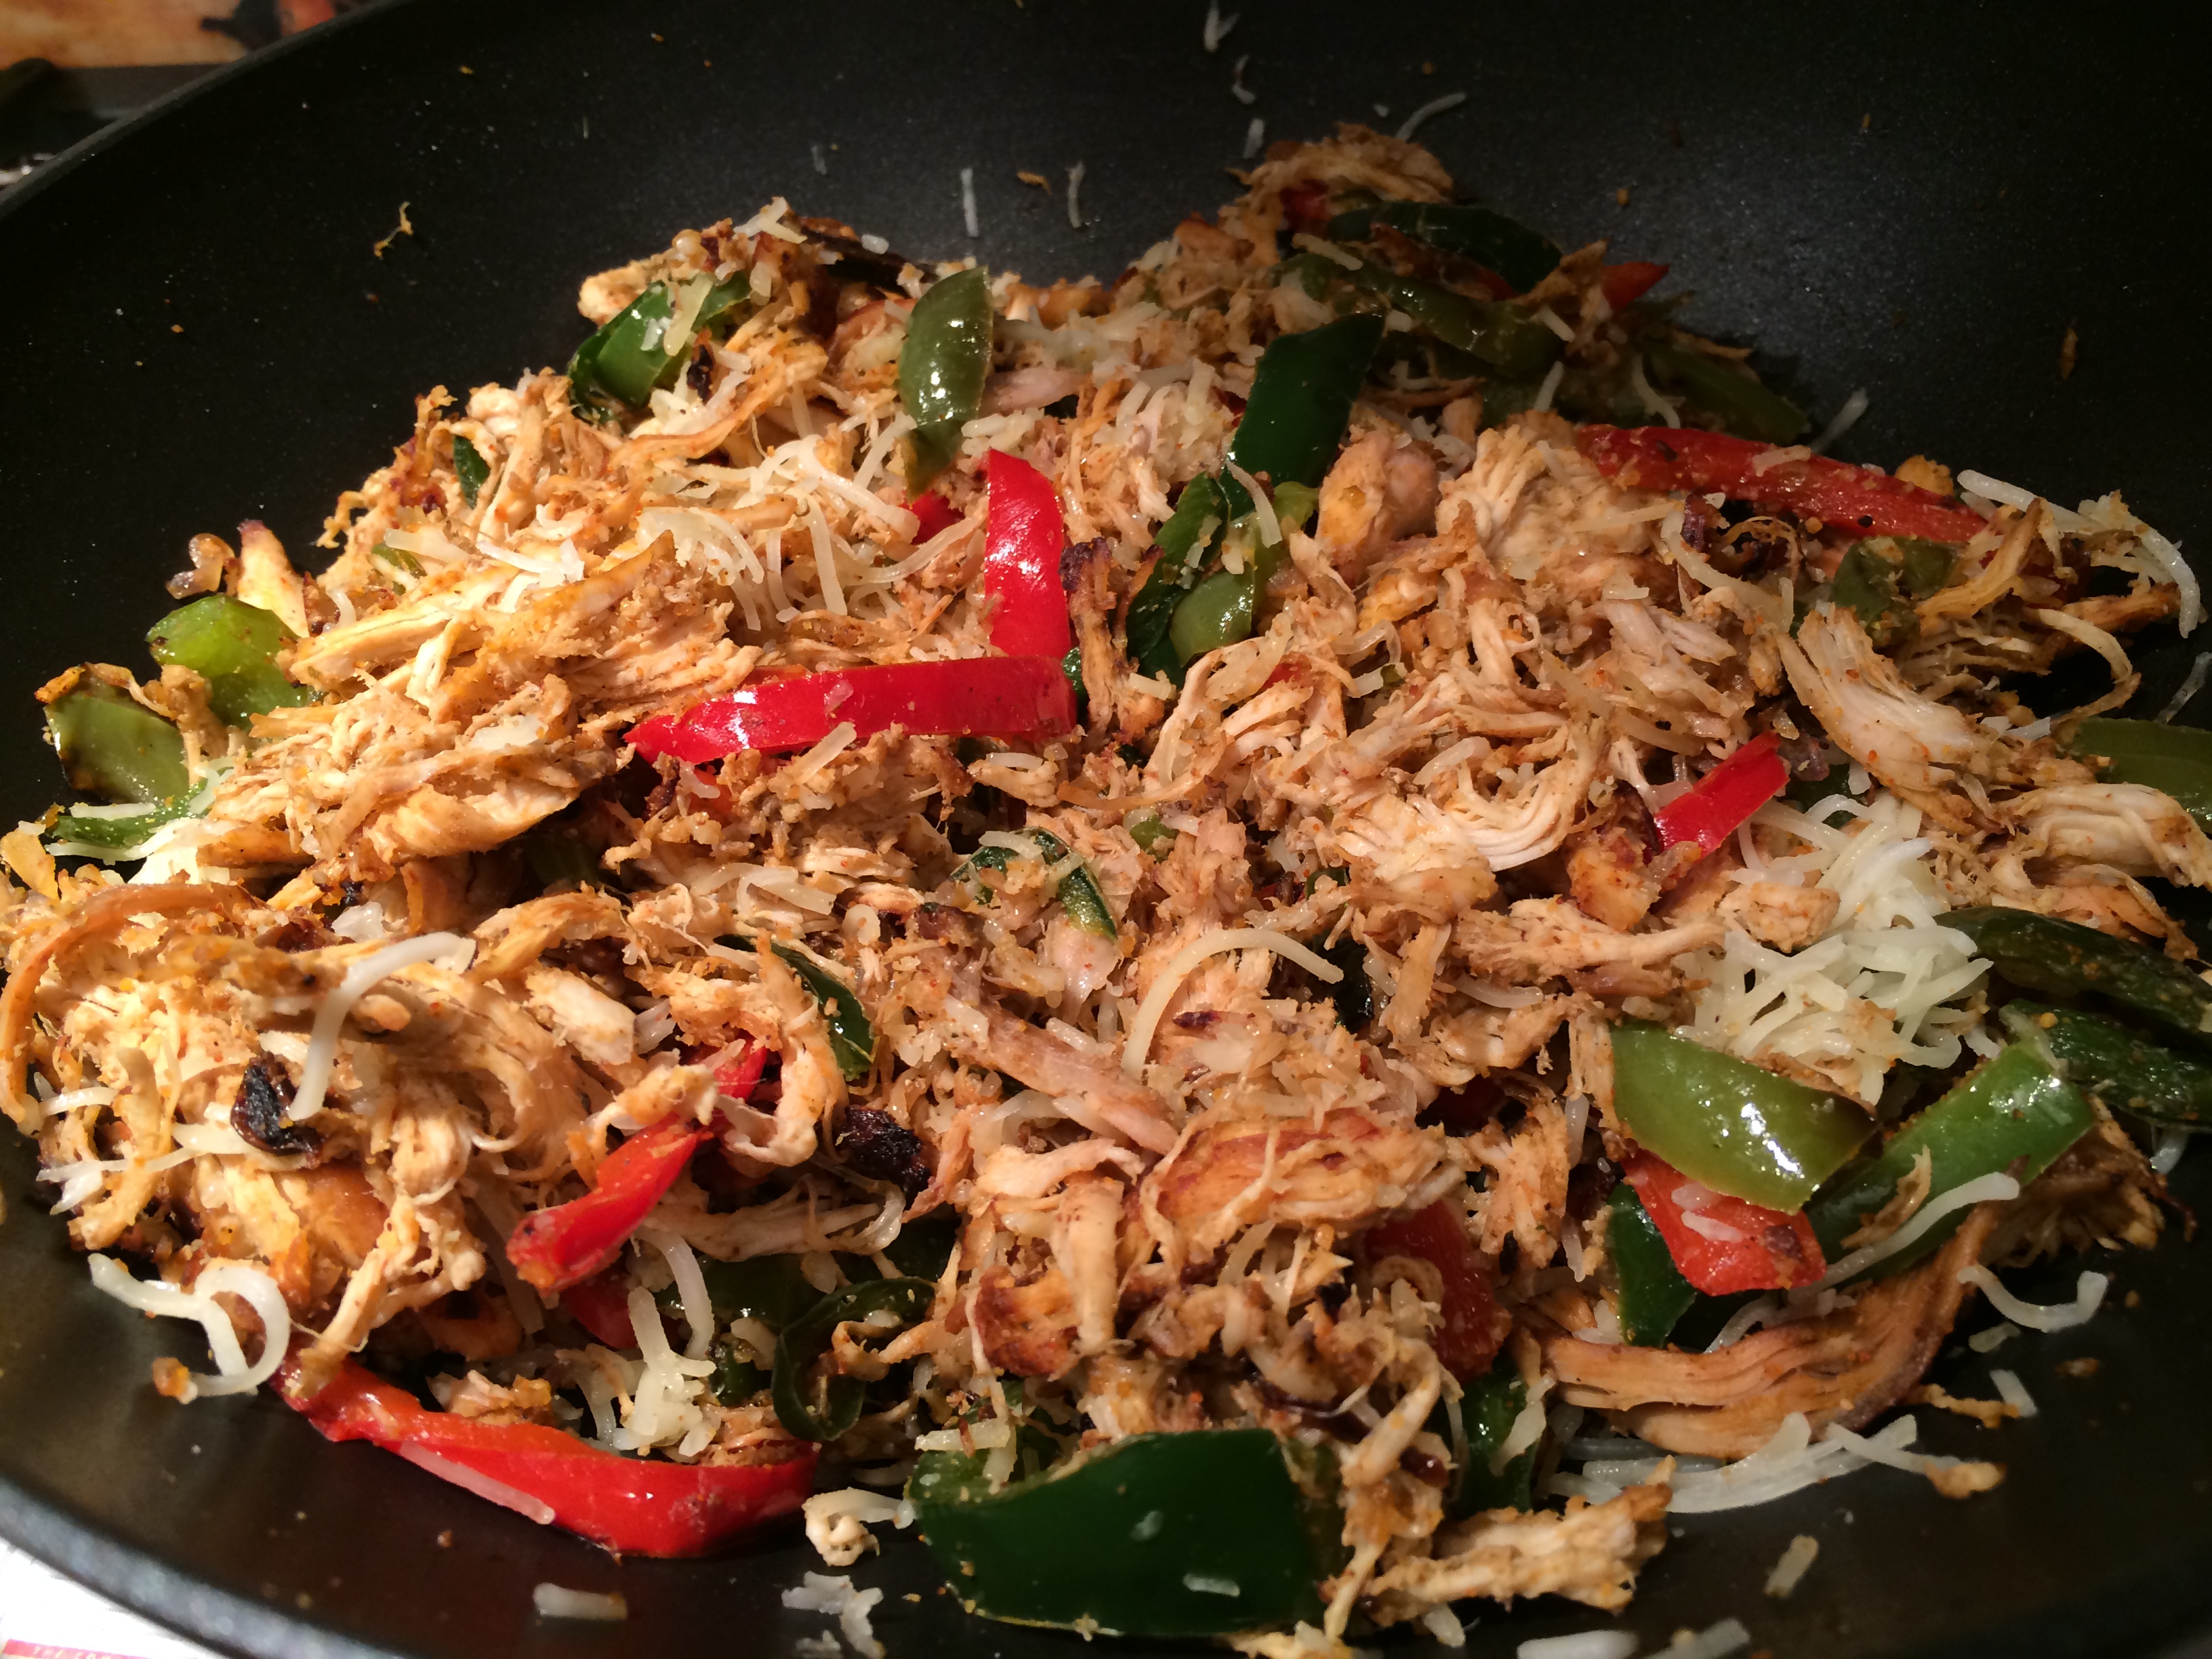
I typically make Bhakri with spicy chicken and some greens.

Today’s post is dedicated to ‘Jowar Bhakri’

Ingredients are very simple, Jowar flour & water. How much simpler can it get. The trick is in making these beauties.  Although I did not cook at all before I got married, this is one thing I made sure I learnt how to make.  I thought it will be easier to explain it through videos rather than just the pictures or words.

So here is my attempt to capture Jowar Bhakri Recipe.


Ingredients

2 cups of Jowar flour

about 1 cup of water

Method:

Step 2:

Make a dough with the flour. Make sure you knead it a bit to ensure that it is smooth. It will be almost the consistency of mashed potatoes.

Step 3:

Make a flat bread patting with you hands. Use flour to ensure that the bread does not stick to the board or your hands

Step 4:

Heat the pan on med-high heat and ensure it is hot before you start to roast the bread on it.

Step 5:

Put the flattened bread on the pan. Make sure you put the flour side up. Spread some water on it. This helps remove the excess flour.

Step 6:

As soon as the water sort of dries up and the first side sort of turns opaque, flip over to roast the second side.

Step 7:

Roast the second side till you see nice brown spots on it.

Step Final:

Once the second side is roasted well, take the pan of the stove and roast the first side directly on the flame.

Step 8:

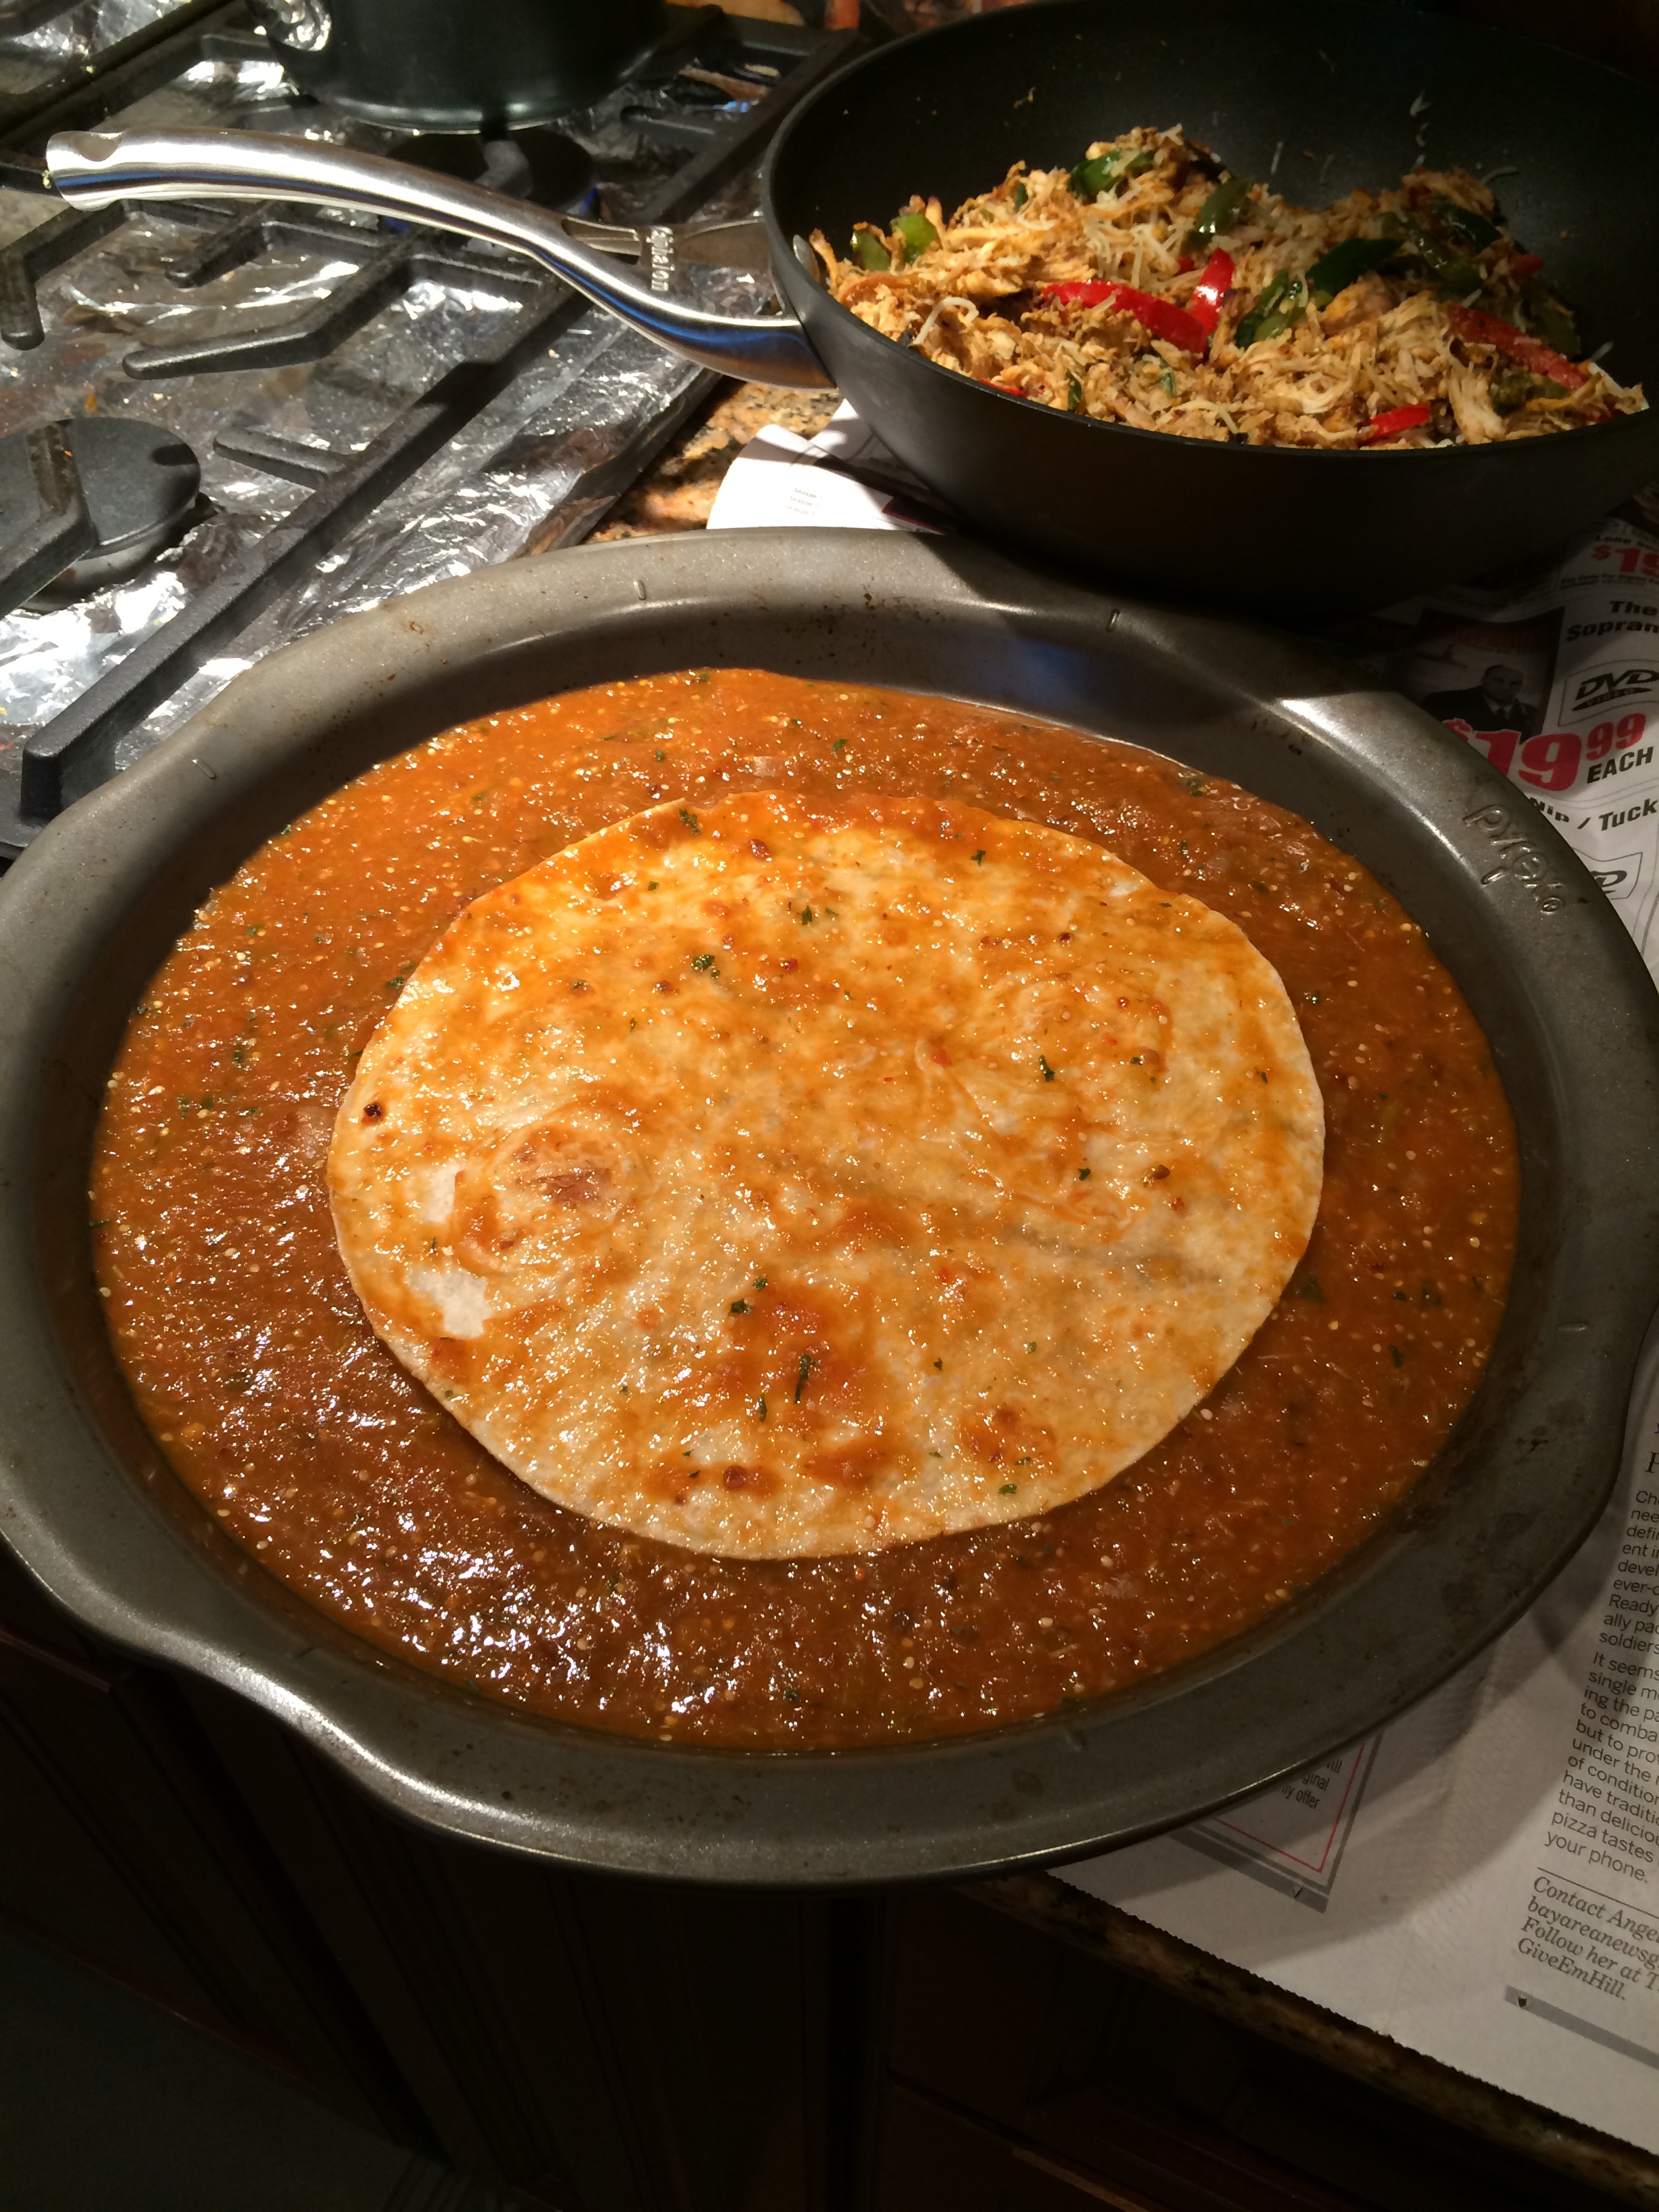
Enjoy with your favorite curry ‘Chicken Savji’. I made this typical Maharashtrian dinner tonight.

IMG_2251 1


Categories
Burmese Noodles

Burmese khow suey

Burmese Chicken Khow-Suey


In the Indian subcontinent to the left of India are countries like Thailand, Burma, China & Laos.

burma india 1

I am fascinated to see how the food changes as you get closer to the border. You can start seeing the influence of different cuisines as you get close to the border, the ingredients peep in various forms. Momos in Sikkim start telling you that you are close to the China border.

Today’s dish is a classic example- Curry from India, Noodles from China and Coconut milk from Thailand combine to make this wonderful dish Burmese Khow suey.

BK-3
BK-3


burma  India

Lovely combination of Indian, Thai and Chinese cuisines, you can tell where Burma is located with this combination.


It is a great one pot dish. All the components can be made ahead and can be put together very quickly, all you need to do is cook the noodles.


Ingredients:

Part A: Chicken

2-3 chicken breast ( cut in small pieces)

2 tbsp yogurt

1 tsp chili powder

1/2 tsp turmeric powder

1/2 tsp salt

Mix all the ingredients and marinate the chicken for 20 mins

IMG_0233

Part B: Tomato sauce

1 tomato in big pieces

1 onion chopped in big pieces

2 garlic cloves

1/2 inch ginger

1 green chili

IMG_0232

Grind these together to make into a fine.

IMG_0234


Part C: Coconut sauce

1/4 cup Chana dal ( pressure cooked)

1 can of coconut milk

1/2 tsp turmeric

1/2 tsp salt


IMG_0239

Grind both of these together, add to a sauce pan and cook for 20 mins on a slow flame.


Part D: Chicken curry

Marinated chicken

1 tsp oil

1 tbsp Garam masala ( you can also use any other meat masala)

1 tsp coriander powder

1 tsp cumin powder

Heat oil in a pan. Add marinated chicken and cook for a few mins.

IMG_0235

Add  the tomato sauce ( Part B) to the chicken

IMG_0237

Add spices and cook till the tomato sauce is dried up.

IMG_0238


Part E: Noodles

Boil egg noodles.

Part F: Toppings:

Chopped cilantro

Chopped Mint

Fried onion

Chopped roasted peanut powder

Smoked chili oil ( I make it at home, it is so yummy)

Cut lime wedges.

How to eat:

  • Put noodles in the bowl
  • Add chicken
  • Pour coconut sauce
  • Add toppings of your choice & Enjoy
Burmese khow suey- edamame noodles


Categories
Breakfast Fusion

Indian style french toast

I am a firm believer that a good breakfast is absolutely necessary to keep you going the whole day. One of my favorite breakfast food is eggs. I like eggs in any form. My mom tells me that when I was a teenager, I used to say that I had to eat eggs and bread everyday for the rest of my life, I will be very happy.

One of the recipes that my mom makes is the ‘desi styled, spiced French toast’. She takes all the ingredients of the typical Indian Style Masala omelet  like chopped onion, tomatoes, green chili,cilantro and use it as a batter for the french toast. It tastes just divine. I love eating it with Maggi Hot and Sweet sauce. She toasts the bread slice a little before she dips in the batter which I think makes a big difference.

So when my friend Ruchi Airen posted a recipe of Spicy Buttermilk French Toast, I knew I had to try it. So here is my take on Ruchi’s recipe. BTW, she is an amazing cook, I am planning to try her detox plan soon.

IMG_0221

Ingredients:

2 eggs

2 tbsp chopped onion

2 tbsp grated Lauki (optional but a good way to sneak veggies in)

1/4 tsp chopped green chili

1 tbsp chopped cilantro

1 tsp Pavbhaji Masala ( or Garam masala)

1/4 cup buttermilk

1/3 cup Shredded cheese, I used the mexican blend I had on hand

2 multigrain bread sliced

oil  

IMG_0214


Method:

Whisk the eggs with all the ingredients except cheese and buttermilk.


IMG_0215

Add buttermilk and cheese and mix well.

IMG_0217 

Dip the bread slices and make sure the batter coats the slices from both sides.

IMG_0218

On a heated pan cook in a little bit of oil it till brown on both sides.

IMG_0219

Your healthy breakfast is ready.  

My kids just loved it. I was happy because I got them to eat ‘Lauki without them realizing it 🙂 . 

Categories
Indian Pickles & Chutneys

Stuffed spicy green chilies

I come from a place where we eat spicy food. I can not have a meal without a green chili and I am always looking for recipes that use fresh green chilies. This is one of my favorite recipes. Those days when your subji just does not come out tasty or you need something to perk up your leftovers or you need an accompaniment to your curd rice, this stuffed mirchi comes to the rescue.

I make it with these thin thai chilies. In summer we get beautiful produce in the farmer’s market and this is one of the recipes that allows you to enjoy the fresh bounty.  These are somewhere between thai chilies and serrano, and they do pack a good amount of heat. This dish is somewhere between subji and pickle. If you are a chili/ spice lover and if you want to bring some heat to the table, this is a perfect dish for you. you will love them!

Stuffed Green chilies…spicy yet you can not stop eating it.

stuffed green chilies

Ingredients:

IMG_0205

Dry coconut- ½ cup
Coriander seeds- 2 tbsp
Methi seeds- 0.5 tsp
Mustard seeds- 1 tbsp
Turmeric powder- ½ tsp
Ginger-garlic paste( I grate it)-1 tsp combined
Lime juice to taste
Sugar – 1 tsp( to taste)
Salt

Method:

Dry roast  the first three ingredients coriander seeds, mustard seeds, methi seeds on a low flame. Make sure you add the methi seeds at the end so they dont burn. If the methi seeds are over roasted they will be very bitter.

IMG_0206


Dry roast coconut until golden brown, take it out on a plate and let it cool.

.IMG_0207

Grind the roasted spices along with the coconut into a fine mix.

IMG_0209

Mix in the rest of the ingredients to the ground spices. Add Salt , sugar and lime juice  as per your taste.

IMG_0211


Wash and dry the green chilies. Make a slit and fill it up with the spice mixture.


IMG_0212


 If the chilies are spicy you will need these to balance the spiciness of the chilies. I always make extra masala since everyone loves the masala. I like to eat it with ‘curd rice’.

Add about a tsp oil( for 15-20 chillies) in a pan and heat till warm. Layer the chilies gently and cover with lid, cook on low flame. You do not want the chilies to burn , and they should cook. After 5-7 min turn them over gently with a pair of tongs. After another 3-4 min, add the extra masala and add a tsp of water. Cook for another 3-5 mins.


Categories
Main Dish Mexican

Chicken enchilada

I am sure that my daughter was born in a hispanic or latin family in her previous birth. Anytime I ask her what she would like for dinner, the answer is either fajita, quesadilla, chili but her favorite is enchilada. So today’s recipe is enchilada.

I feel key to a good enchilada is the sauce, if you get the sauce right you got 70% dish right. I learnt to make this sauce from Iris ( pronounced as ‘ee-ra-is’), she comes from the Jalisco province of Mexico and this is how her mom makes the sauce.

Chicken Fajita Enchilada

IMG_0200


Ingredients:

Filling:

IMG_0173

1 lb chicken, I make it with minced chicken or the rotisserie chicken and both taste good

1/2 Green bell pepper cut in short strips

1/2 Red bell pepper cut in short strips

1/2 onion sliced

2 tbsp homemade mexcian seasoning

oil

2 cups of shredded mexican style cheese

Sauce:

IMG_0172

2 Roma tomatoes

8-10 Tomatillos

1 jalapeno

2 cloves of garlic

1/2 onion cut in big chunks

1-2 dried red chili , you can use chipotle, guajillo or ancho chili

2-3 tbsp cilantro


6-8 tortillas


Method:

Step 1:

Make the sauce

Preheat the oven 400F.


Clean the tomatillos. Arrange tomatoes, tomatillos, garlic, onion, jalapeno in a baking dish. Sprinkle with oil and salt.  Bake it in the oven till you see the tops of the vegetables browning. I like mine a little smoky so I leave them in till they get black spots. If you like your salsa smoky, add the dried guajillo chili to the roasting vegetables for the last 5 mins.

If you are not planning to roast the dried chili with the vegetables. soak it in warm water for 15-20 mins( longer is ok).

Grind the roasted vegetables with a cup of water( you can also use chicken stock) With chopped cilantro, soaked dried guajillo chili and salt.

IMG_0175

Step 2:

Prepare the filling

If you are using the rotisserie chicken, de-skin & de-bone the chicken, you should be left with cooked shredded chicken.


In a pan heat some oil. Add sliced onions and saute until nicely browned ( I like mine almost caramelized).

IMG_0176


Once the onion are done, add the shredded chicken and sliced bell peppers.

IMG_0179

Cook for a few mins, add ‘Fajita seasoning ( see note)’.  Cook until all the flavors come together. Add chopped cilantro and take it off the heat.

IMG_0189

Once the meat mixture is cooled to room temperature, mix in 1 of the the shredded cheese and keep the mixture aside.

Step 3:

Assembly

Take a baking dish. Cover the dish with a thin layer of the sauce to prevent the tortilla from sticking to the dish. Take a plate and pour the rest of the sauce in that plate.

Dip the tortilla in the sauce, flip over to coat both sides.

IMG_0190

Spoon heapful of the chicken & cheese mixture on the center.

IMG_0191


Roll it up and arrange the roll on the baking dish.

IMG_0192

Finish arranging the rest of the tortillas in the baking dish.

IMG_0195


Cover this with the remaining cup of shredded cheese.

IMG_0197

Bake it in a 350F oven till everything heats through and the cheese melts ( about 25-35 mins). If you think that the cheese is melting but the enchilada is n heating through, you can cover the dish with an aluminum foil while baking, take it off during the last 7-10 mins for the cheese to get golden brown.

Serve it with a dollop of ‘fresh crema’!


Notes:

Vegetarian option: You can make a vegetarian version very easily. I make mine with sliced portobello mushroom, zucchini, carrots. My mom is a pure vegetarian and she loves it.

Spice mix: I  make my own Mexican seasoning which I use in all mexican dishes like fajita, taco, enchilada and even chili.

IMG_0178


Categories
Kashmiri Vegetable curries/daal

Kashmiri Baingan(Eggplant)

Kashmir- the jewel crown of India, not only is it famous for its beautiful landscape and people but its cuisine is also delectable. Kashmir cuisine has two distinct areas, one influenced by the Pandit community and the other by the Muslim community. You can see influence of Persian cuisine is dishes like ‘Khubani ka halwa, Pomegranate chutney. The recipes use  ingredients like the flower extract, dried spices, dried fruit and milk products.

The Pandit cuisine recipes show minimal use of onion and garlic. This eggplant recipe reflects  so. I got this recipe from a man whom I met on one of the trips to India. He was very happy that I was interested in learning about Kashmiri cuisine and happily shared a couple of recipes with me.


Kashmiri Baingan

20140828_184516


Ingredients:

2-3 long eggplants

salt

a pinch of sugar

oil

Spices:

20140828_182912

2 tbsp tamarind pulp ( mixed with some water)

1/4 tsp hing mixed with 1 tbsp of water

1/2 tsp dry ginger powder

1/2 tsp fennel powder

1/4 tsp garam masala

1/4 tsp turmeric

1 1/2 tsp Kashmiri red chili powder

1 pinch of kasuri methi

Chopped cilantro for garnish


Method:

Slice the eggplant in thick slices and apply salt and both sides. Let rest for 20 min and then dab it dry with a kitchen towel.

Saute the eggplant in a pan with little oil. The traditional version calls for frying the eggplants but I decide to shallow fry them. Take the eggplants out on a plate.


In the same pan heat some oil. Add the red chili powder and turmeric powder.


Saute and then add  the tamarind pulp mixed with  water to the pan.

20140828_183325


When it comes to a boil, add the rest of the dry spices like dry ginger, fennel powder, sugar & salt.

20140828_183820


Cook for a min and then add the cooked eggplant slices. Mix well and cover to cook for 1-2 mins.

20140828_184128


Add the kasoori methi and mix well.

20140828_184306


Garnish with cilantro to serve.

20140828_184516


Note: I forgot to add garam masala today. A pinch of garam masala taste good in this dish


Categories
Appetizer Fusion

Thai Paneer Pinwheel


Summer goes by too quickly…I feel that every year when I start back to school shopping. We decided to celebrate the last weekend in summer before the schools open with a backyard jacuzzi party..the plan was to keep things simple. Everyone makes an appetizer and then one friend would make khicadi ( a dish made with rice and lentils). Since I love to put a twist on your typical recipes, I decided to make pinwheels but with ‘Thai Touch’. It is a quick simple recipe that uses that the farmer’s market bounty. It can be put together in less than 30 mins if you have all the ingredients at home.

You can make many versions of this, like I make Chinese, Mexican and of course Indian 🙂

Thai Paneer Pinwheels


IMG_0621
Thai Paneer Pinwheels

Ingredients

Filling
IMG_0608
Ingredients

1 cup grated Paneer ( Indian Cottage cheese)

1/2 cup onion finely chopped

1/4 cup red bell peppers finely chopped

1/4 cup green bell peppers finely chopped

1 green chili chopped fine

1 tbsp  garlic  finely chopped

1 tbsp ginger finely chopped

1 tbsp cilantro chopped

1 tsp thai basil finely chopped

1 tsp thai curry paste

1 tsp sriricha sauce

salt to taste

1 box Crescent rolls


Method

Preheat 350F.

Grate or crumble paneer.

Grated paneer

Step 1

Unroll the crescent roll. You will get a rectangle. Seal the perforations gently to get a uniform rectangle

Step 2

Chop all the vegetable fine

Chopped vegetable


Step 3

Mix all chopped vegetables with the grated paneer. Add all the sauces & salt to your taste and mix well.

Spread the mixture evenly on the rectangle dough. Make sure you leave some space around the edges. The filling tends to come out if spread it all the way to the edge.

Roll it up gently, try not to press it while rolling. If the edges open up while rolling, just pinch and seal it. Cover it in a plastic wrap. Keep it in the fridge for 10-15 mins. This makes it easy to cut.

Take the roll out of the fridge. Cut it in 1/4 inch slices.

IMG_0618

While cutting use the sawing motion so the rolls don’t get flattened while baking.

Arrange the cut rolls filling side up on a greased baking tray. Make sure you keep some distance between the rolls else they will be stuck together and will not have enough room to spread while baking.

IMG_0619


Bake for 18-20 mins at 350 F.

Pinwheels ready


When ready serve with hot sauce or any other condiments of your choice.


Note:

I have made other variations with Tandoor Paneer, Mushroom-goat cheese and even sweet kind with apple filling


Categories
Cakes

Banana Walnut Cake

It has been ages since I last posted a recipe. This summer we were on our India vacation, had a great time eating all kinds of favorite foods and of course spending time with the family.

Every time I visit India I am reminded of a few things and one of the most important one is there is a large population in India which does not even get enough food to eat everyday and that I should be very thankful to have food on the table every night for me and the family. So when I see food getting wasted it bothers me a lot. At work they bring in fresh fruit everyday, it is great to have such a healthy option for snacking and I appreciate it, however I was very shocked to see that some Bananas were getting thrown out just because those had a few brown spots. When I saw that I asked if I could bring those home and our office manager was surprised but said,” Sure!”

So I brought it home and the next day my team members got to eat homemade, whole some banana bread. I was happy that I saved three bananas from going into the trash and my coworkers were happy to eat a piece of home made banana bread. Sorry I did not get time to take step-step pictures since it was a work day, please let  me know if you have any questions.

IMG_2853 1


Banana walnut cake

IMG_2852


Ingredients:

IMG_2845
1 stick of unsalted butter at room temp
1 cups of sugar
3 eggs at room temp
3 over ripe mushy bananas, puréed
1 3/4 cups of wheat flour
1 tsp baking soda
1/2 tsp vanilla
Pinch of salt

Procedure:
Preheat the oven at 350 F
Butter a bread loaf pan.

Sift the flour, salt and baking soda.

Cream butter & sugar until nice and creamy
Add eggs, one at a time until mixed well
Add banana purée and vanilla and mix.
Add the flour mixture a few spoons at a time till all flour is incorporated.

Pour in the bread pan. Top with chopped walnuts.
Bake in the 350F oven for 50-55 mins.

IMG_2847


Recipe: Micky Singh

NOTE:
I have been asked if there is an option to replace eggs
One of the other sites talked about this replacement-
To replace three eggs
Grind 1 tbsp of flaxseed with 2tbsp of water till creamy( per egg).
1/4 tsp baking powder

Categories
Cakes dessert

Date Cake..butterless, eggless, sugar less

They say there is no such a thing as a free lunch, and there is no such thing as a healthy dessert. If it tastes good, it can not be good for you.

So when I found out that this yummy cake that my mom has been making  is  so healthy, I was very surprised. By the way I don’t know if you know but my mom is an incredible cook. She has been making some amazing recipes, new cuisines, new ingredients and even bakes some yummy things. I remember, our friends would come from school with us and they would be super surprised to know that the cake or cookie they are eating is actually home made, Aai is that good.

Back to the cake, since it eggless, sugar-free and butter free, everyone, even those with dietary restrictions can enjoy the cake. With this cake you can have your cake and not feel guilty. It is a favorite of all the friends and anytime I have made it, it disappears in minutes

This makes an ideal after school snack, lunch box treat or guilt free dessert.

Date Cake

IMG_3598

This cake is butter-less, egg-less, sugar less, made from whole grain and the best part is it tastes yummy.

Date Cake

A delicious cake thats egg-less, sugar-free and can be made vegan. A wholesome snack thats perfect for teatime, school lunches and so much more. Packed with goodness of dates, this cake will please everyone. 

Course cake, Dessert
Cuisine Indian
Keyword cake, dates, egg-less, No Butter, sugar-free
Servings 8
Author Anagha

Ingredients

Ingredients:

  • 25-30 Dates Divided use
  • 1- 1 1/4 cup Milk you need a little more if you use whole wheat flour
  • 4-5 tbsp Sugar optional, I do not add any sugar  since the dates here are sweet
  • 1 cup Whole wheat flour or APF
  • 1/2 cup Oil I use Safflower oil
  • 1 tsp Baking powder
  • 1/4 tsp Baking soda
  • 1 tbsp Walnuts or more if you are crazy about walnuts like me

Instructions

Method

  1. Soak 20-25 dates in warm milk till they are soft . About 3-4 hours is enough for the dates we get here, however you can leave it in the fridge overnight.  Remove the seeds if not using seedless.

  2. Blend them to a smooth paste along with the milk in which it is soaked in.
  3. Add oil and mix.
  4. Sieve together flour and baking soda, baking powder. 

  5. Add the flour one table spoon at a time  to the date mixture and stir.

  6. Chop the remaining dates

  7. Taste and if needed add sugar. Add the nuts, chopped dates and mix.
  8. Preheat the oven at 350F. Bake the cake in a greased oven dish for 35-40min

Recipe Notes

You can make this vegan by substituting the milk with almond milk or soy milk.

If you feel like indulging, add a few chocolate chips. 

Ingredients:

25-30 dates, divided use
1- 1 1/4 cup milk( you need a little more if you use whole wheat flour)
4-5 tbsp sugar( optional, I do not add any sugar  since the dates here are sweet)
1 cup whole wheat flour or APF
1/2 cup oil
1 tsp baking powder
1/4 tsp baking soda
1 tbsp walnuts(or more if you are crazy about walnuts like me)

IMG_3588

Method:
Soak the dates(save 2-3 to be chopped &added to the batter) in warm milk (3-4 hours is enough for the dates we get here) Remove the seeds if not using seedless.

IMG_3585

Blend them to a smooth paste along with the milk in which it is soaked in.

IMG_3590

Add oil and mix.


Sieve together flour and baking soda. Add the flour one table spoon at a time and mix slowly.

IMG_3591

Taste and if needed add sugar. Add the nuts, chopped dates and mix.


Preheat the oven at 350F. Bake the cake in a greased oven dish for 35-40min

IMG_3594

Notes:
You can make this vegan by substituting the milk with almond milk or soy milk.
If you feel like indulging, add a few chocolate chips.

Also, if you use  1/2 whole wheat & 1/2 unbleached flour, you can leave out the baking powder.

Variation:

Apricot-almond cake

Apricot cake

I love making a similar cake with Apricots & Almonds. It has a much more delicate flavor and goes well as a desert with a dollop of whipped cream

Aysegul from Turkey tried this recipe and was sweet enough to share her photo, here it is:

y45G9k.jpg

Categories
Andhra Rice

Tamarind Rice ( Puliyodharai)

I love authentic, traditional recipes. Agreed that sometimes they can be very involved and time consuming but I feel the taste after all that effort is unbelievable. Some of the old methods of cooking or prep work may look tedious, but those also have a great way of bringing people together. Imagine making raviolis together, or making papad in summer, or making pickles together, when you are working together teh work does not seem boring.  So i love collecting recipes that are authentic, passed down from generation to generation, this is my way  of preserving my culture and heritage, hoping to pass it to the future generation.

Today’s recipe is something I learnt from my friend Usha, who had leant it from her Ammamma( grandma).

Tamarind rice is very popular in Andhra Pradesh as well as Tamilnadu. This version I feel has both Andhra and Tamil influence on it. It is a typical brahmin recipe, and is used as Naivadyam on many auspicious ceremonies. I had eaten this the very first time in the famous Tirupati temple, so anytime I make it invokes the same feelings.

Although the recipe may look complicated it is not, it is complex. I will try to simplify the instructions as much as possible.

Tamarind Rice

IMG_3552


There are four steps to the recipe.

Step 1:

Make a tamarind chutney – This chutney is pretty much jam like consistency.

Part A ( tempering 1)

2 tbsp oil

2 tsp mustard seeds

6 red chilies

Few curry leaves

Part B   (Wet ingredients)

1 handful dry tamarind, cleaned and soaked in  2 cups of hot water

1/2 tsp turmeric powder

2 tbsp jaggery ( gud), you can substitute dark brown sugar as well.

Extract the tamarind pulp and discard any seeds or hard shells. Mix jaggery and turmeric in it.

Part A & Part C Wet ingredients & Tempering 1 (Part A & B)

Part C ( Dry powder)

1/2 cup coriander seeds

6 dry red chilies ( or more if you like it spicy)

1 tsp black pepper

1 tsp cumin(jeera) seeds

1 tsp fenugreek( methi) seeds

1/2 tsp mustard seeds

1 tbsp chana daal

1 tbsp urid daal ( skinless)

Few curry leaves

1/2 tsp asafoetida( hing)

Dry Masala Powder Dry Masala Powder ( Part C)


Dry roast the these and grind it in a coffee grinder( or a blender) to make a fine powder. Make sure you add fenugreek seeds and hing towards the end else it will burn and give bitter taste

To make chutney:

Tamarind chutney

Heat the oil for tempering, add the red chilies until they are nicely browned. Add the remaining things and saute till the mustard seeds splutter( Part A). Now add the tamarind-jaggery mixture( Part B). Cook this on a low flame until you get a nice jam like consistency.  Add the dry masala powder ( Part C) and mix well.  Keep it aside.

Step 2:  

1 .5 cups of rice

1 tsp oil

1/2 tsp turmeric

Cook rice with salt and set aside to cool. Once cooled add a  tsp oil and turmeric and mix well.

Step 3: Make  tempering 2

IMG_3565

Ingredients:

1 tbsp oil

1 handful ( or two) peanuts

1 tsp mustard seeds

1 tbsp urid daal

1 tbsp chana daal

1/2 tsp asafoetida

A few curry leaves

Roast/fry the peanut in oil on a low-medium heat. Add mustard seeds, urid and chana daal and saute well. Now add curry leaves.


Step 4: Mix it together

Mix the cooked rice with a few tbsp of the prepared Tamarind chutney. Typically 4-5 tbsp chutney is enough for 1 cup raw rice cooked.

Add Tempering 2. Mix well.

Garnish with chopped cilantro if desired.

You are done. Enjoy the authentic Pulliodarai


Notes:

This tamarind chutney lasts a while even outside and if you refrigerate it, it can last upto a couple of months.


en_USEnglish